
Connect Retro Consoles to Modern TVs: A Comprehensive Guide
Connecting retro game consoles to modern televisions can often feel like a daunting task. Many enthusiasts face challenges when trying to hook up their beloved systems, such as the Atari 2600, Nintendo Entertainment System, or Sega Genesis, to contemporary displays. With the majority of new TVs equipped primarily with HDMI ports, navigating the various output options available for older consoles requires some understanding of the available connections.
Before diving into the specifics of connecting these classic systems, it is crucial to check the available ports on your television. While most new screens primarily feature HDMI, you might find additional inputs that can simplify the connection process. For example, some televisions still support RCA composite or even Component connections, which were more commonly used in earlier decades.
Understanding TV Ports and Connections
To successfully connect your retro console, it is important to familiarize yourself with the different port types. Here is a brief overview of the common connections you might encounter:
1. RF Connector
2. RCA Composite
3. RGB SCART
4. Component
5. HDMI
In the early days of gaming, consoles like the Atari 2600 relied on RF (Radio Frequency) signals, which could be connected to a television antenna input. While this method remains functional on some modern TVs, it typically results in the lowest picture quality due to interference and the combination of audio and video signals.
As time progressed, the industry shifted towards dedicated inputs, with RCA composite becoming the standard for consoles in the 1980s. This type of connection utilizes three jacks—yellow for video and red and white for audio. Although it provides a better image than RF, it still presents challenges when viewed on contemporary LCD screens.
For improved visuals, many retro consoles also support S-Video, which separates luminance and chroma for clearer images. However, not all modern televisions include this input, making it less accessible for casual users. The best option for retro gaming is often the RGB SCART cable, which divides color information into separate channels, resulting in vibrant and sharp images. Unfortunately, this standard was not widely adopted in the United States.
Utilizing HDMI Upscalers for Enhanced Experience
Even if you can connect your retro console directly to a modern TV, the visual output may not meet expectations. Many screens struggle to upscale low-resolution signals effectively, leading to input lag and poor color reproduction. To address these issues, many gamers turn to standalone HDMI upscalers that can convert old console signals into high-definition images.
When choosing an HDMI upscaler, it is important to avoid overly expensive options that may not offer significant advantages for the average user. While high-end devices like the Retrotink-4K Pro provide excellent results, they come with a hefty price tag of around $750. Alternatively, more affordable options like the RetroScaler2x can deliver satisfactory results for under $100.
For those who are serious about retro gaming, the Open Source Scan Converter (OSSC) is a popular choice. Priced around $140, this device acts as a line doubler, enhancing the resolution while maintaining signal quality. It supports various input types, including RGB, but may require additional components for compatibility with certain consoles.
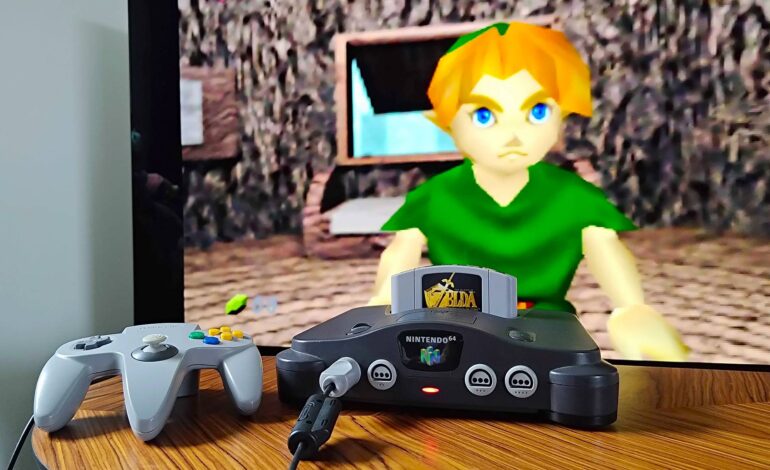
For gamers looking to upgrade their experience without breaking the bank, it is essential to consider both the capabilities of their console and the limitations of their display. Modifications to older systems, such as HDMI mods for the Nintendo 64, can also provide enhanced visuals.
In conclusion, connecting retro consoles to modern TVs can be straightforward, provided you understand the options available. Whether using direct connections or investing in upscalers, enthusiasts can successfully enjoy their classic games on contemporary displays, preserving the nostalgic experience for years to come.