


Enhance Your Windows Debugging with Custom Event Notifications
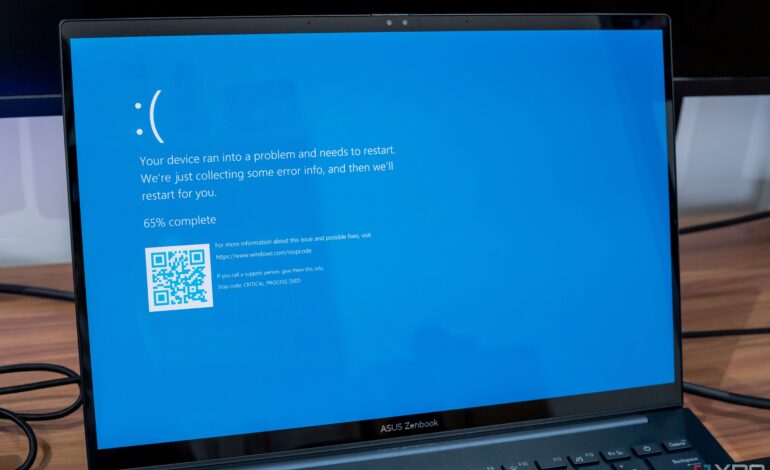
Running into issues with a Windows PC can be frustrating, particularly when a system crash occurs. Many users find themselves facing the dreaded Blue Screen of Death (BSOD), often too late to prevent significant problems. While cryptic STOP codes may offer some guidance, they rarely help in identifying issues before they escalate. Fortunately, Windows provides tools that allow users to take a proactive approach to monitoring system health by setting up custom notifications through Event Viewer and Task Scheduler.
Leveraging Built-In Tools for Proactive Monitoring
Windows logs a vast array of events, including application crashes, security updates, driver failures, and logon attempts, all of which are accessible via the Event Viewer. This tool can be invaluable for diagnosing problems after they occur, but it can also be harnessed to prevent issues from becoming catastrophic. By utilizing Windows Task Scheduler, users can create alerts that notify them immediately when critical services fail or when specific applications crash.
Many users are familiar with Task Scheduler for its ability to automate tasks, such as launching applications at startup. However, its capabilities extend beyond basic scheduling. Upon exploring the Task Scheduler interface, it becomes clear that it can also monitor Event Viewer logs for specific triggers, allowing users to receive timely alerts rather than waiting for a crash.
Setting up these notifications requires a few steps, but the process is straightforward once the correct Event IDs are identified. The combination of Task Scheduler and Event Viewer not only enhances the debugging process but also eliminates the need for expensive third-party monitoring solutions that often simply repackage existing Windows features.
Step-by-Step Setup for Custom Alerts
To begin creating an Event Viewer watcher, open Task Scheduler and select “Create Task” instead of “Create Basic Task.” After naming the task, navigate to the Triggers tab and select “New.” In the “Begin a Task” dropdown, choose “On an event.” This requires populating three fields: the Log, Source, and Event ID. The Event ID is particularly crucial, as it helps pinpoint the exact issue based on previous occurrences.
Common Event IDs that are useful for monitoring include:
– **Event ID 4625**: Failed logon attempts, which can indicate potential security threats.
– **Event ID 1001**: Application crashes, which can help identify unstable software.
Once the triggers are established, the next step involves creating a script to handle notifications. Microsoft has deprecated certain options for sending email alerts and displaying on-screen warnings, but users can still leverage the “Start a program” option to execute a custom PowerShell script. This script can perform various actions, from sending email alerts for critical security events to displaying simple pop-up notifications for less severe issues.
This setup creates a robust monitoring system that functions at the operating system level on any modern Windows PC. Users no longer need to rely on costly third-party software to receive alerts about system health. With just 15 minutes of configuration, individuals can establish a reliable monitoring solution tailored to their specific needs.
Ultimately, this proactive approach to system monitoring not only saves time and resources but also significantly enhances the overall user experience. By taking charge of debugging with these built-in tools, users can navigate their Windows environment with greater confidence and efficiency. The transition from reactive troubleshooting to real-time monitoring marks a substantial improvement in how Windows PC users manage system health.